
Black Widow – Investing
Having finally finished making the silicon moulds and taking wax copies of the parts I’m anxious to get this ready to cast. I always find I get a little excited when I first cast a new figure. It’s like I can’t wait to see how it turns out! So, I want to get this done.
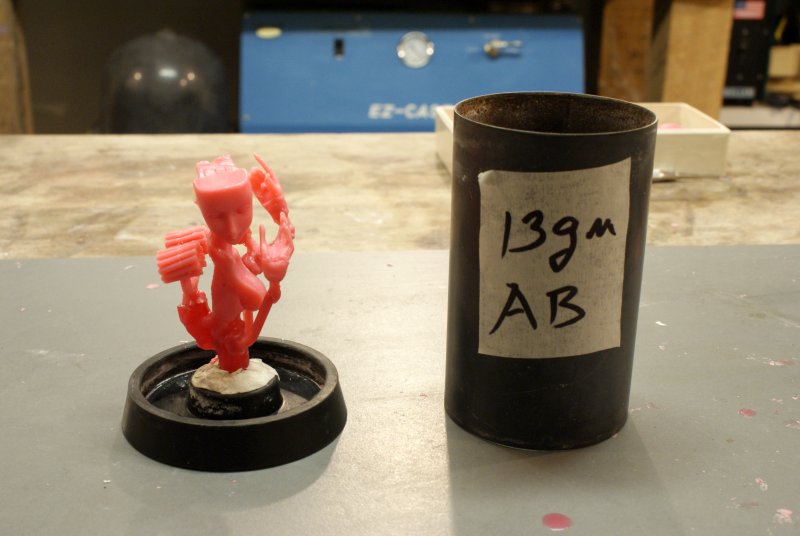
The first picture shows how I have hollowed out this interior of the Spy Lady’s torso. You might ask, why have I done this? It’s not to save metal. Then again, you might not care. I do what I want, now …
In my case, I cast solid bronze figures. Many bronze casters, particularly those who do bigger pieces of work, do shell castings. This means that they only fill the outside shell of the sculpture and they leave a hollow interior. Because I cast solid parts I have found over the last year that I have to be careful to reduce or eliminate shrinkage flaws in my castings. We all know that water expands when it turns from a liquid and freezes into solid ice. What you might not know is that metal shrinks as it freezes from a liquid to a solid. What this means is that the casting wants to draw new liquid metal into the mould as the cast solidifies. There should be a hot pool of liquid metal ready and waiting. This hot pool of metal is called the ‘button’ and sits at the top of the casting where the liquid metal is poured. This button must have enough metal in it such that it will cool and freeze last. Not only that, the feed channels into the casting must also not freeze first. If they go solid then the hot liquid metal in the button can’t get into the casting.
My feeders into the casting are 3/8 inch diameter solid wax tubes. These are thick enough to handle most of what I cast, but if I do a big thick mass I may see cracks or fractures in the metal or areas where the semi-solid metal has pulled back from the mould. I would most often see cavities or voids show up inside the casting. In severe cases these cavities burst to the surface and I have what I call a ‘blowout’, but if you think about it, the fault would be better described as a ‘suck-in’.
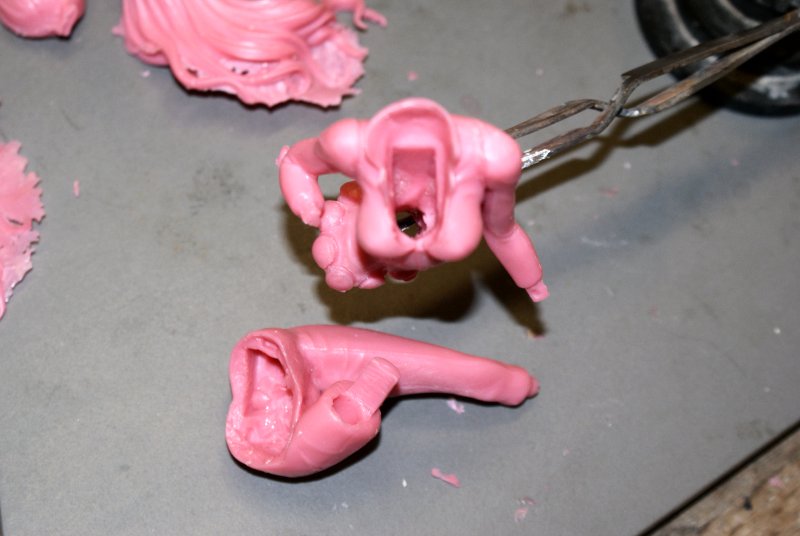
To keep the thickness of as much of the part below 3/8 of an inch (my feed size), I have drilled a big hole through the torso and where I have hollowed out the Spy Lady’s gluteus maximus. Or should I say, big butt? I have also run a drill inside one of her thighs, but not the other. The thicker thigh will experience shrinkage but I do not expect it to be severe.
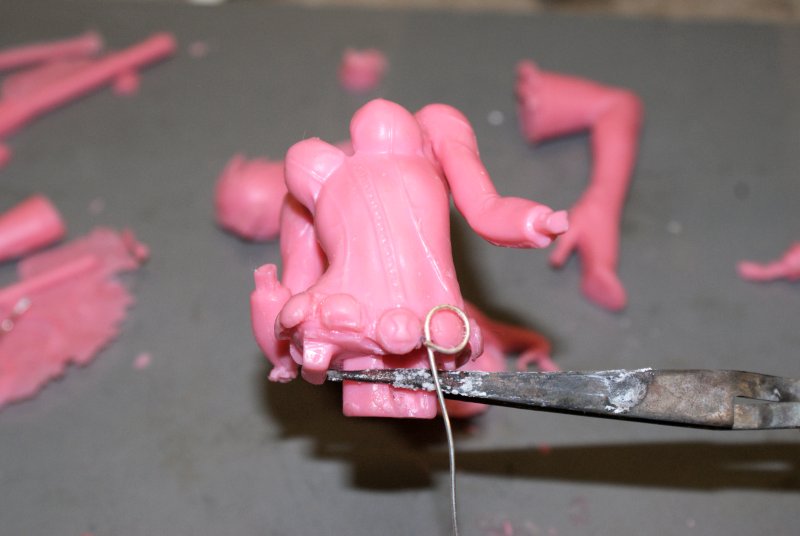
In my previous post I suggested I would make sterling silver rings for the chain around her hip. The picture below shows how I am prepping the cast so that any rings I make will fit. I can heat the wire and melt the wax so that there is a channel for the ring. See below.
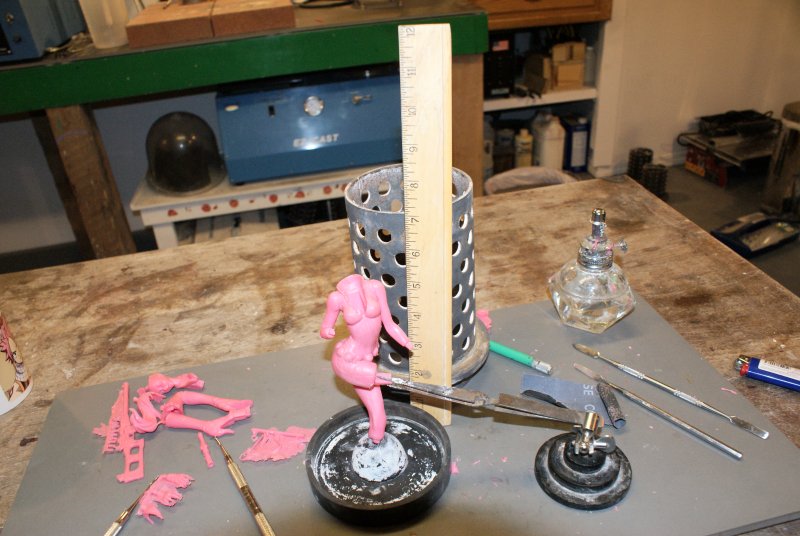
The next picture shows the body part fully assembled in wax. It is going to be set in the rubber flask base as you see and put inside the 4×7 inch perforated flask. When this part is cast it is turned upside down and molten metal is poured into the cone that you can see in the rubber base.
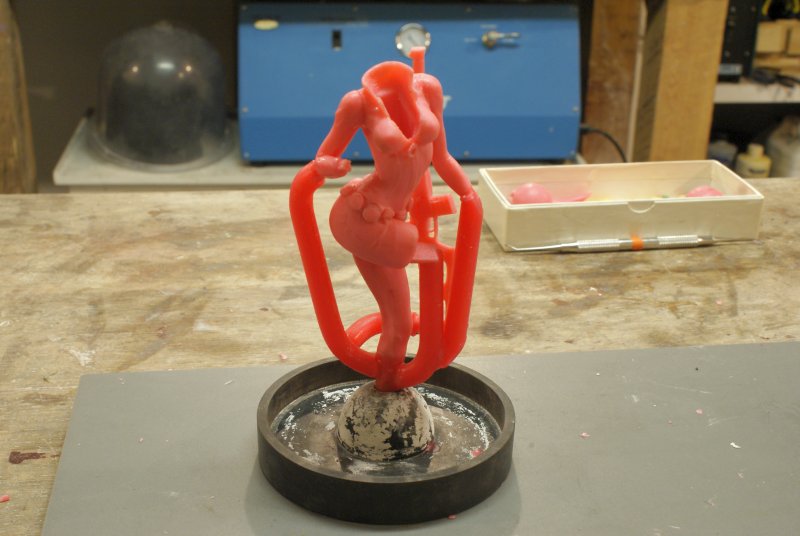
The next picture shows the body part assembled in wax and ‘sprued’ for casting. ‘Sprues’ are the red 3/8 inch wax rods that are feed channels into the cast. There is also another picture of the model’s head and other assorted parts also sprued for casting. These parts are going into a solid steel flask that is 2.5×4 inches high. I’ll explain the difference later.
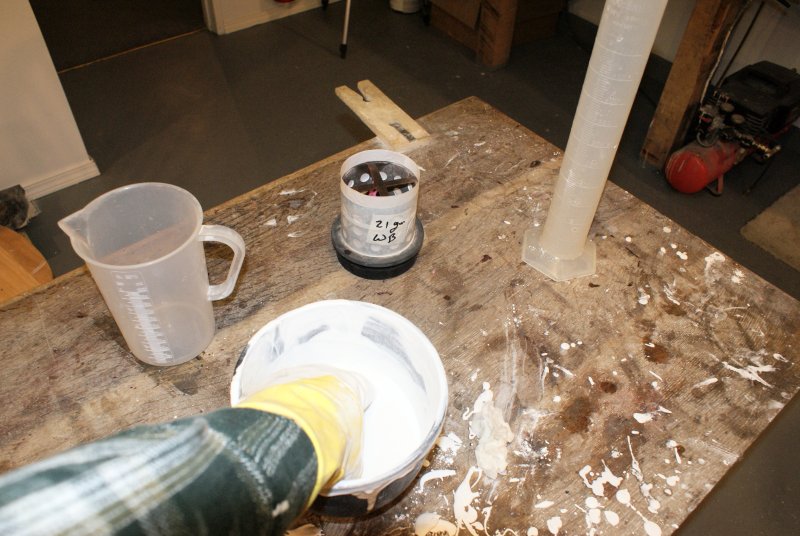
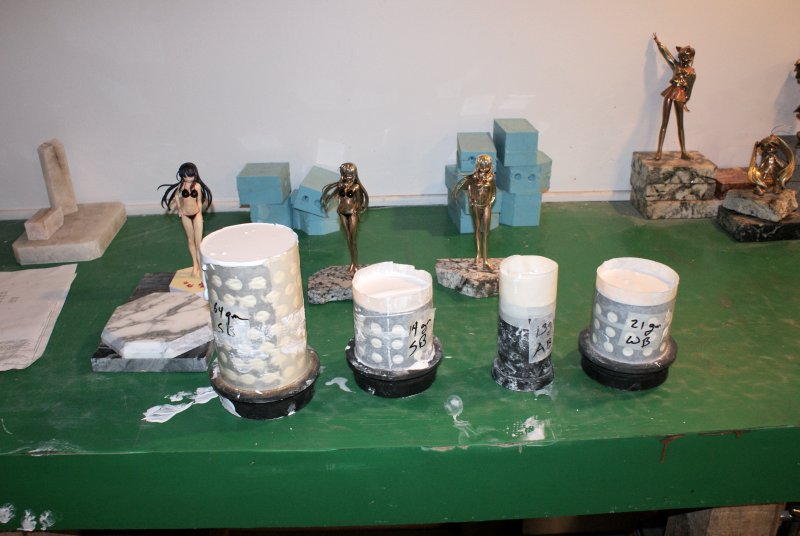
And, for those of you who are wondering how I possibly pour molten metal into a flask full of holes, see below.
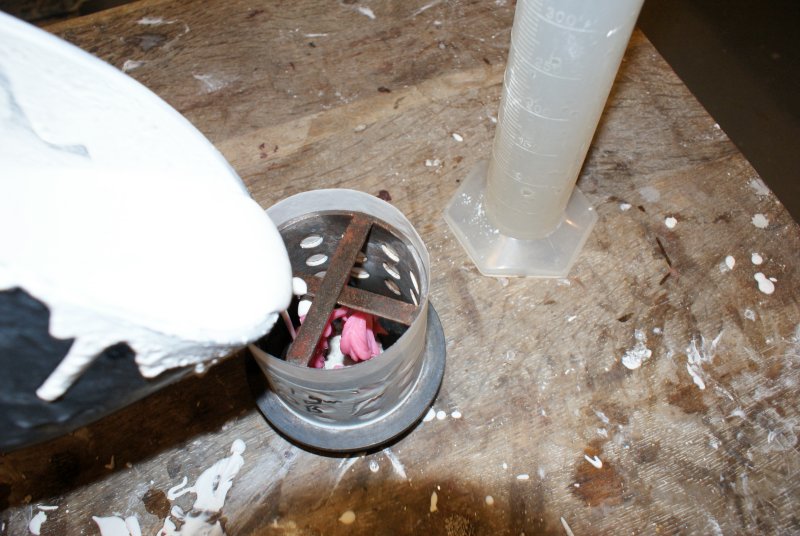
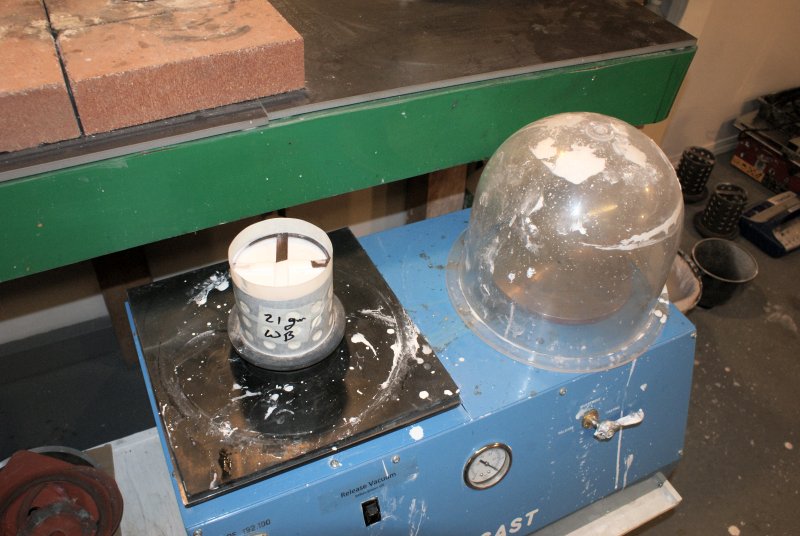
What happens is that a silica plaster compound is mixed up and poured into the flask. Masking tape stops the goop from leaking out the holes. The plaster is placed under a vacuum for 20 seconds to remove bubbles and then poured into the flask. The filled flask is also put under a vacuum again to remove more bubbles. We don’t want air bubbles stuck to the surface of our model or inside the plaster. The plaster hardens in about 10 minutes. We are now left with the wax model encased in plaster in the flask.
The plaster is actually called ‘investment’ and it has the property such that when heated to about 730 C (1350 F) the plaster becomes porous to gasses like air. So, when the wax is melted out and molten bronze is poured into the cavity left behind the air that is in the way gets forced out through the investment. Neat, huh? This is lost wax casting, invented by your ancestors back in the bronze age.

After investing all the flasks they sit for a few hours to cure. The rubber bases are removed and the flasks can then be heated up in a kiln to 150 C to melt the wax models inside.
Investing is always a messy job, particularly if you are doing it with plaster. At least I know that I will lose my wax in this process. No one tells you that when investing with money one often loses that, too.
Once the wax is melted out of the flasks they get heated up in a 12 hour cycle that runs overnight. The kiln uses a little program to ramp up to 370 C and hold for a few hours, then to 480 C and hold for a few more hours, then to 730 C and hold for 4 hours, and then drop back to casting temperature at 400 C and wait for me to wake up in the morning.
I’ll post the casting results tomorrow.


No comments yet.