
Black Widow – Wax Model
Hi folks,
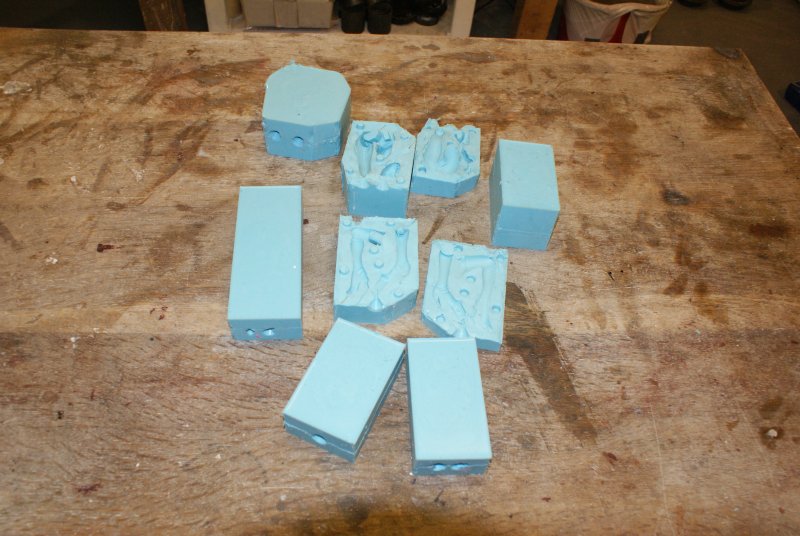
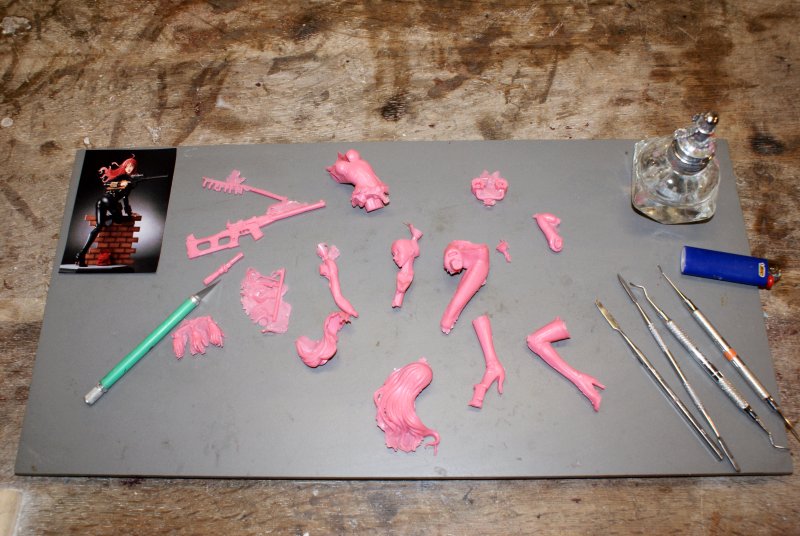
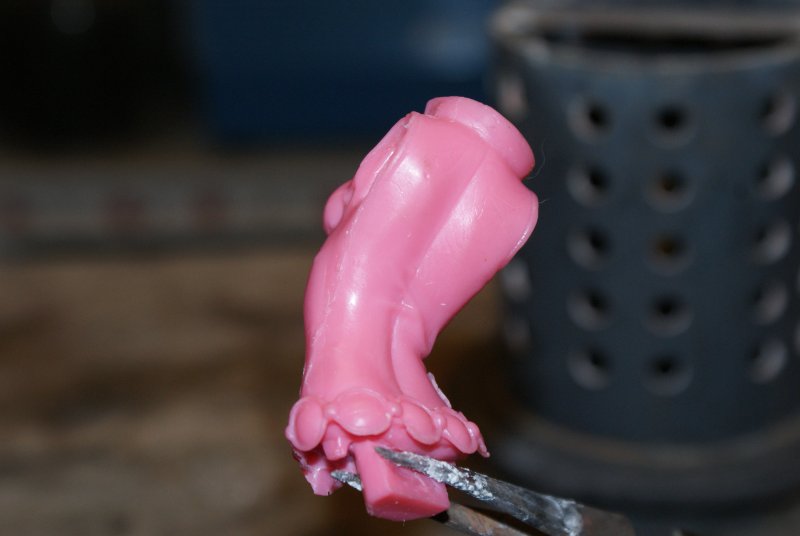
So I’m back. I’ve made silicon moulds for all the parts in this kit and created wax copies of all the parts. The pictures below shows all the silicon moulds and all the wax parts. You can see where there is flashing and extra wax that leaked out between the two halves of the rubber mould because I am injecting under pressure. I’ve snapped the flashing off some of the parts and left others so you can see. The flashing is typical and actually helps make sure that air evacuates and the mould fills completely.
The silicon moulds for this kit in total weighed 2.48 kg. I was surprised at how much rubber I used. It can be quite an expense, so I try to be careful about what kits I choose to recast in bronze. I don’t like to do complicated kits with lots of parts.
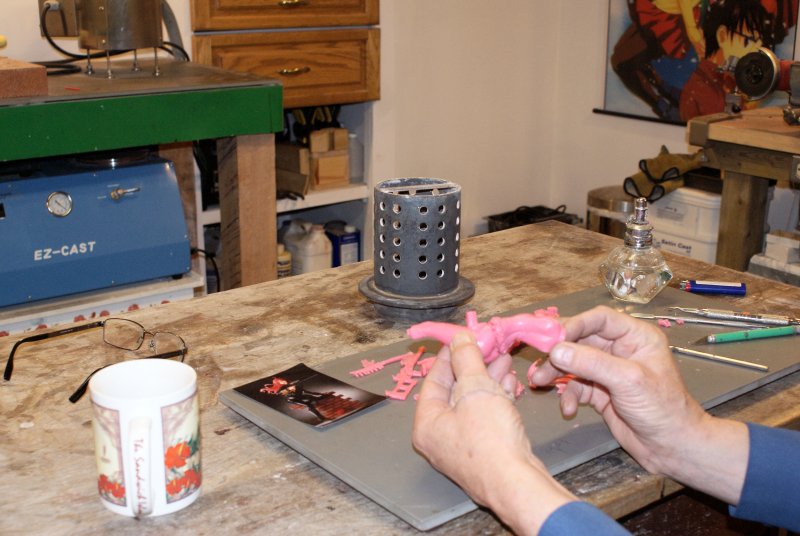
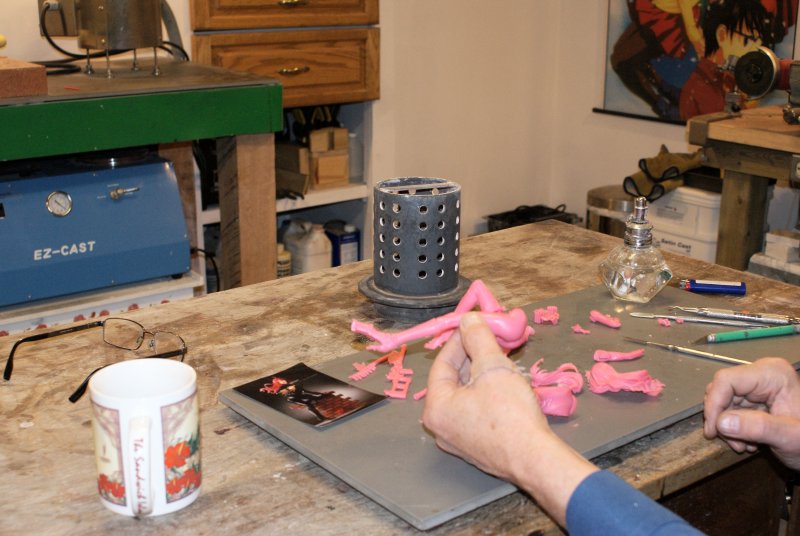
Once I have the wax parts I clean up and assemble what I can in preparation for casting. Everything I cast has to fit inside a steel flask like you see in the picture below. It’s best to pre-assemble as much as possible so that I don’t have to solder parts together after they are cast. It’s also best do do as much repair work and sculpting in wax first as it is harder to repair the figure when it is in metal.
Looking at the body, there are two ways that I can set up to cast it. One is to attach the torso to the hips and cast these as one as shown in the first picture, and the other is to attach the hips to the boots and cast this unit as one as shown in the second picture. I can’t do more than this because the total height of the figure exceeds my maximum flask size.
I am going to do it the first way where I attach the torso to the hips. I am thinking ahead to the soldering difficulties if I was to do it the other way. In this case I would then later have to solder the torso to the Spy Lady’s hips. Both the torso and hips are large and massive and would take quite some heat to get hot enough to solder. If I cast the hips to the torso first then it will be much easier to solder the boots onto the legs as they will not be as difficult to heat.
I also need to think ahead to the molten metal flow as I pour. With the first way I can have two or three feeds into the piece. I’ll explain more about this when I set up to cast. Right now, I need to clean up the parts, repair the with wax where necessary, and stick them together with wax. The picture below shows seam lines that need to be removes and sanded, and there are a few other flaws that also need repair.
I am also thinking that I will make the silver rings that are the chain around her hips in sterling silver. This means that I need to remove the wax rings as they won’t be cast. This is like repairing jewellery, so you might even see how silver chain is made a little later.
I’ll post some more in a few days.


No comments yet.