
Black Widow – Silicone Mould
Someone said that I had a wonderful workspace and that they’d love to have as much room to make a mess! Yes, my workspace was originally the previous house owner’s wine room. He was an Italian barber, and one thing about Italy is that the whole boot is supposedly overflowing with wine. I think it would be hard to be Italian barber and not make a hundreds of gallons of wine each year. He built the green work bench to support his many big oak wine barrels. When I once made wine I made about 50 gallons a year, or one gallon a week. After all, one gallon is only four bottles, and that is not even one bottle a night!
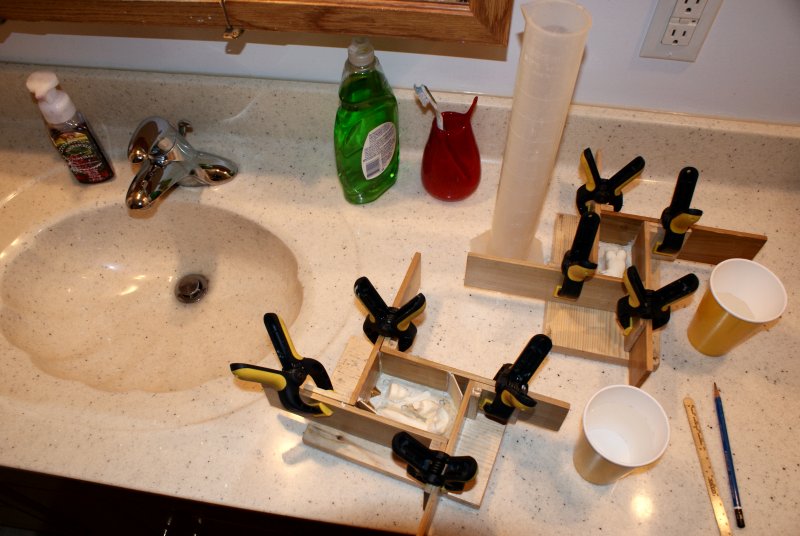
I’d go mad sitting around my house retired with nothing to do, so a few years ago I began to set up this area to be my modelling and casting studio. The room is about 15 feet square. I ran two new 20 amp circuits from the main electrical panel to power my kiln and furnace, and I also installed new pot lights over top the benches for increased lighting. I also put in a ventilation fan that used the existing wine ventilation pipe so that I could evacuate fumes. One thing I regret not doing a decade ago is running plumbing so I could have a sink in the room. I had walls open at the time when I was recovering from a bit of an overland flood and I could easily have run a drain pipe at the time.
Anyway, I’m making the necessary two part silicon moulds now.
I have made adjustable wooden mould box sides for two boxes. I take modelling clay and when soft I use a piece of PVC pipe to roll it out on on the mould box base. I then press the resin pieces into the clay. One box will contain the figure body and the other will contain the nice round figure bottom and the head. These are perhaps the two biggest resin pieces in the kit.
I then pack modelling clay all around the pieces to make the bottom half of the mould. This usually seems to take an hour or two for each mould.
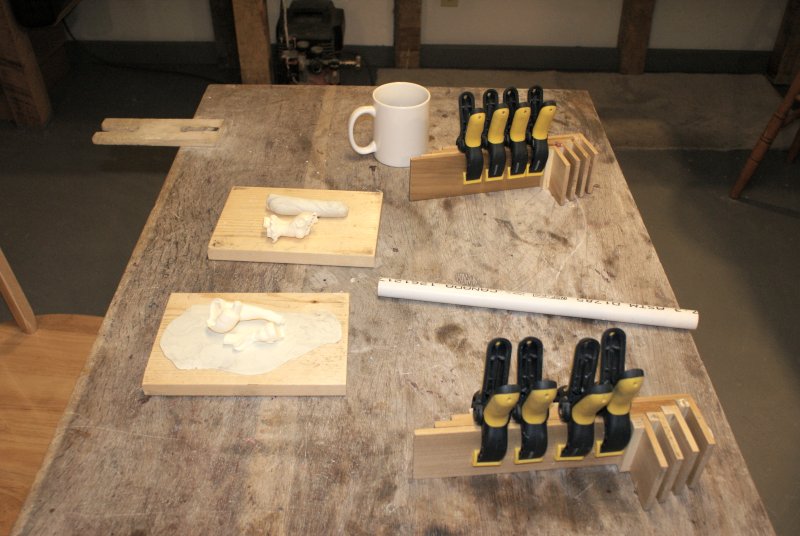
Once the modelling clay is packed the mould frame can be assembled and clamped together. However, before I mix and pour the silicon rubber, I first need to measure the volume of rubber that is required. I seal the edges of the mould frame with modelling clay and measure how much water it will take to fill the box such that I have about 10 mm of water above the highest part of the resin part.
I pour water into the box from the graduated tube, and when I know the volume I can pour an equal amount into a wax cup and mark how high it comes. I can then dump the water out and mix the silicon rubber in the cup and have just the right amount of rubber to fill the mould box!
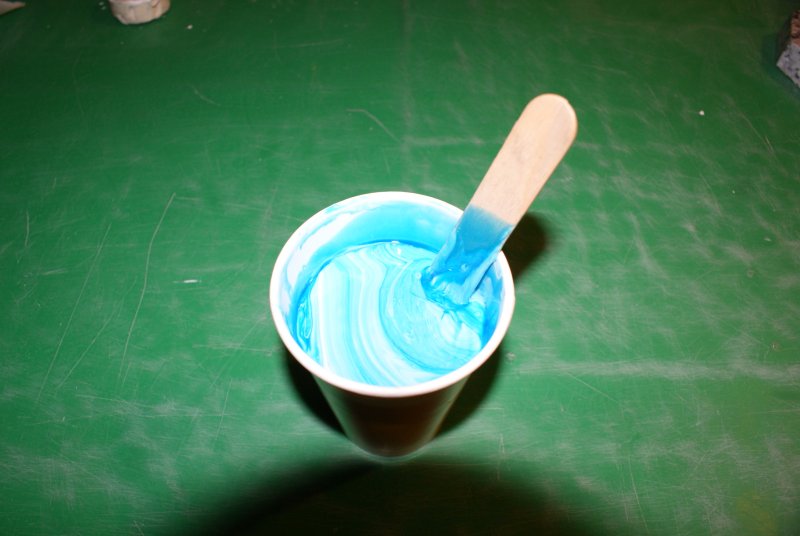
I use Freeman V340 silicon rubber. Expensive, but then all silicon rubber is. This rubber is mixed 10:1 ratio by weight with a catalyst. The rubber comes in a big 4.5 Kg pail. I transfer about 1 Kg into a smaller container for ease of pouring and then pour from this container into the cup. Once I know the weight I add the correct amount of catalyst. The measurement needs to be precise. If not accurate, the rubber sets too soft or too hard.

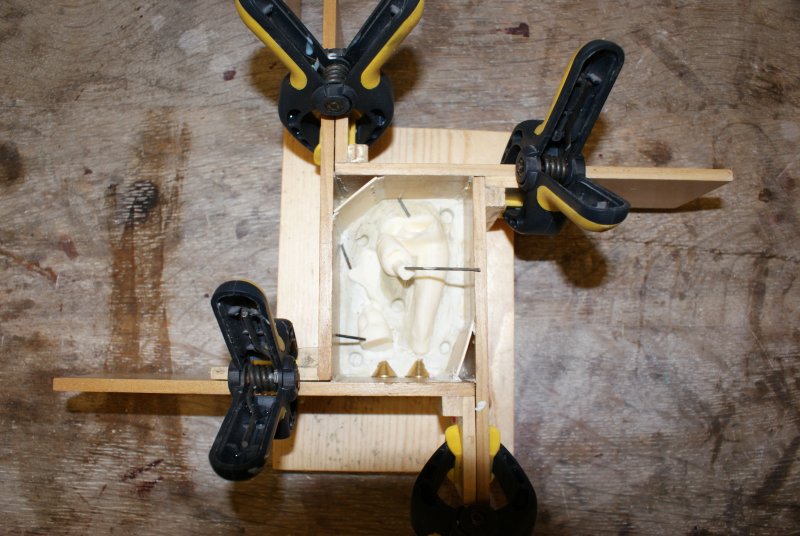
Before the rubber is mixed and poured, air vents may need to be added. The picture below shows how I have positioned some steel rod to act as air vents. Sometimes, even when injecting wax under a few pounds of pressure, the mould may not completely fill.
The catalyst and rubber also needs to be well mixed. I stir the stuff for about five minutes. This rubber sets up in about an hour so there is no rush. The mixed rubber takes 16 hours to cure so I pour the second half of the two-part mould the next day.
This Freeman silicon rubber needs to be put under a vacuum for a few minutes to remove air bubbles before it can be poured. If this is not done bubbles will adhere to the surface of the resin parts. Fortunately, my bronze casting system also needs a vacuum pump, so I have the equipment at hand.
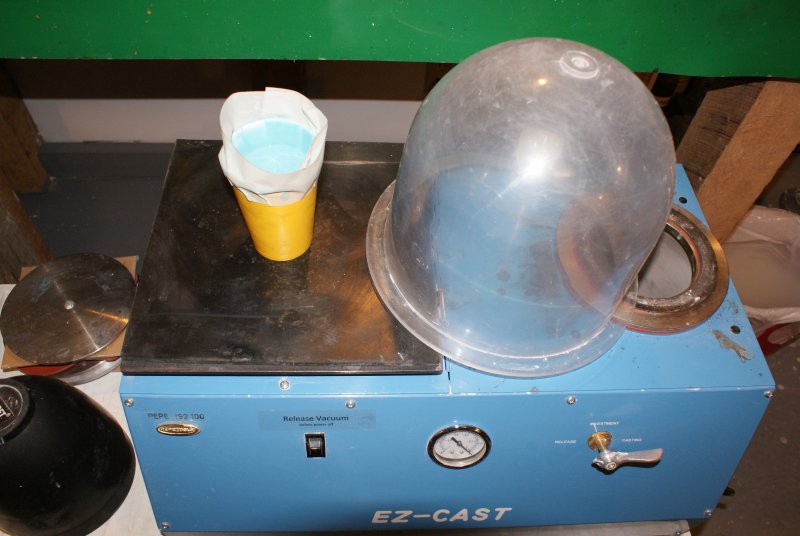
Lastly, the rubber is poured into the mould box and the box is set aside for the rubber to cure.
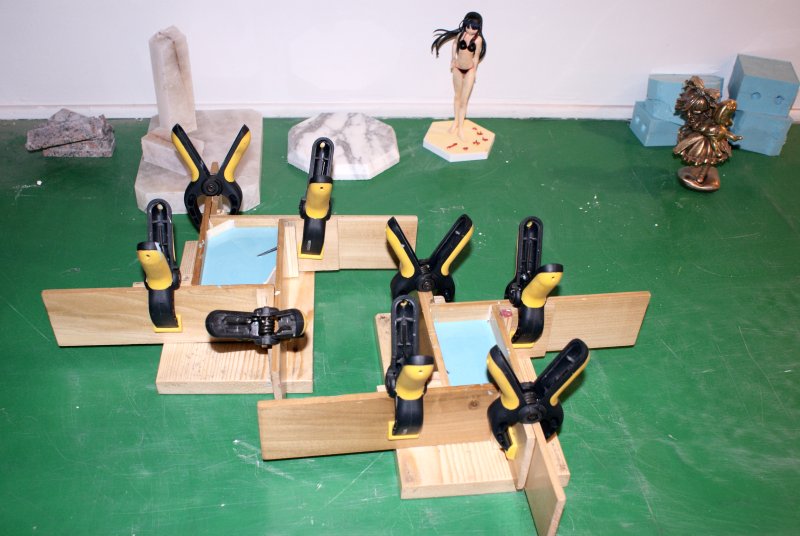
I’ll show you in a day or two how I pour the second half of the two part mould. You can see in this picture the quartz that I cut a few days ago and mentioned in my last post. This is going to be a base for my Basketball Girl, with a broken column and basketball net, I think. You can also see a 1/10 scale PVC figure of my Bikini Girl and a finished casting of my Victorian Doll.


No comments yet.